The Long Stitch: A Binding That Grows With Your Skills
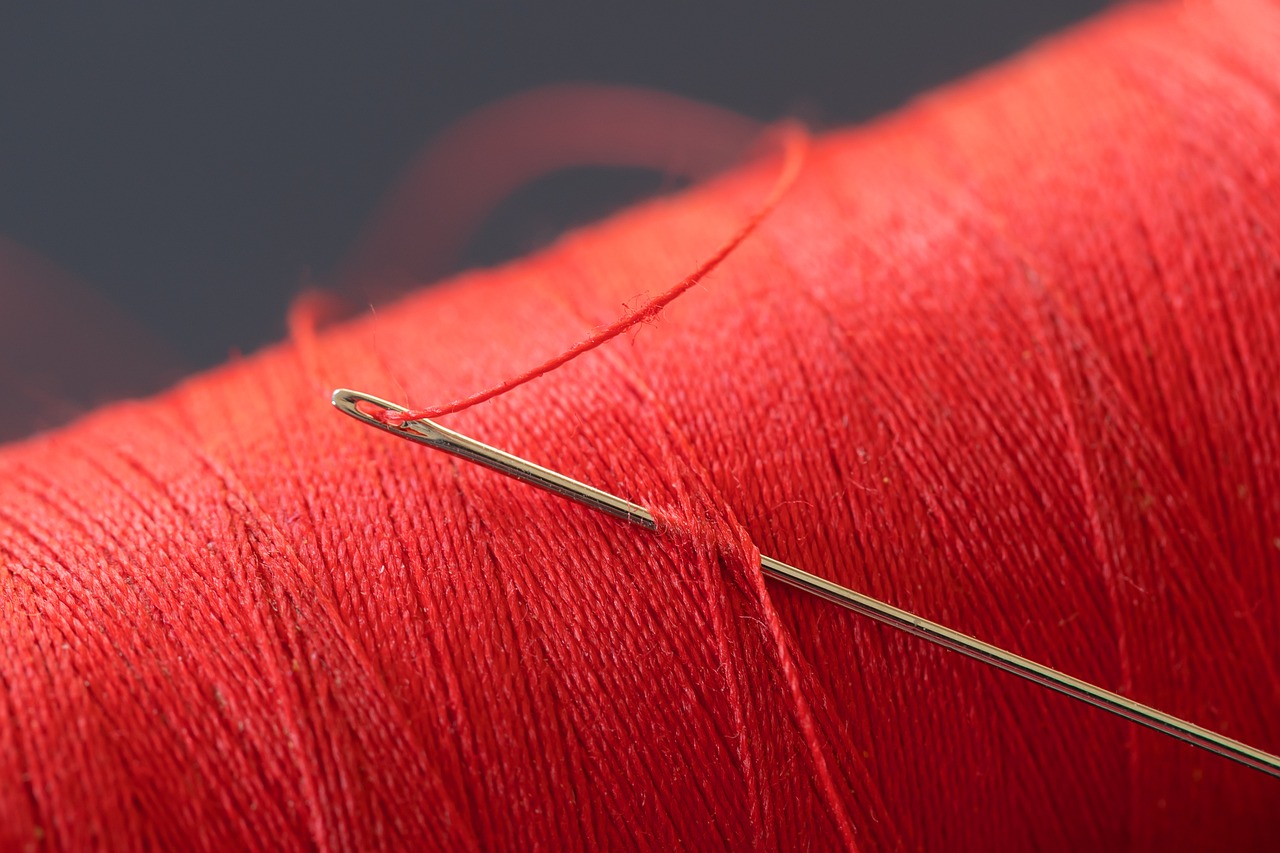
Most beginners start with a simple pamphlet stitch, and that is fine. But the first binding that truly feels like bookbinding, where you are building a structure rather than folding paper and tying a knot, is the long stitch. It is an exposed-spine binding, which means the sewing itself becomes the visual spine of the book. There is no glue holding the cover on. The thread does all the work, and every stitch is visible.
Why the Long Stitch Teaches Tension
In a case binding, the cover hides the sewing. If your tension is slightly uneven, the book still opens and closes, and nobody sees the inconsistency. The long stitch offers no such hiding place. Each link of thread passes through the cover and around the spine, and if one link is tight while the next is loose, the whole spine looks crooked. You learn to feel tension in your fingertips, to pull with the same pressure on every pass, and to adjust as you go.
The sewing pattern itself is simple. You work from the inside of each signature out through the spine fold, then loop the thread around the cover spine and back in through the next station. The thread travels along the outside of the spine, creating a visible braid. With two or three needles, you can interlock the threads for a more complex pattern, but a single needle is enough for a first attempt.
The cover is usually a single piece of leather or heavy board, scored and folded at the spine. Because there is no case, the cover must be flexible enough to open with the text block. A stiff cover will fight the sewing and cause the signatures to tear at the stations. Choose a leather around 2 to 3 ounces, or a heavy card stock if you are practicing.
Materials and First Attempts
You will need a curved needle, which makes it much easier to pass through the spine fold without piercing the paper. Waxed linen thread in a size 18/3 or 25/3 works well. The wax helps the thread grip and reduces friction. A bone folder for creasing, an awl for punching stations, and a cutting mat round out the basic kit.
Start with four or five signatures of four folios each. Punch three or four stations along the spine fold, spacing them evenly. The first and last stations should sit about a quarter inch from the head and tail. Sew from the inside of the first signature out, then loop around the cover spine, then back in through the next station. Continue through all signatures, then tie off inside the last signature with a square knot and a dab of archival glue.
Your first long stitch will probably have uneven tension. The cover may shift slightly. The spine may lean. That is normal, and it is the point. The second one will be better. By the fifth, you will have a feel for how tight is too tight and how loose is too loose. That feel is what separates a binding that lasts from one that falls apart, and no book can teach it to you. Only thread and leather can.