Finishing Edges: Burnishing, Dyeing, and the Details That Elevate a Journal
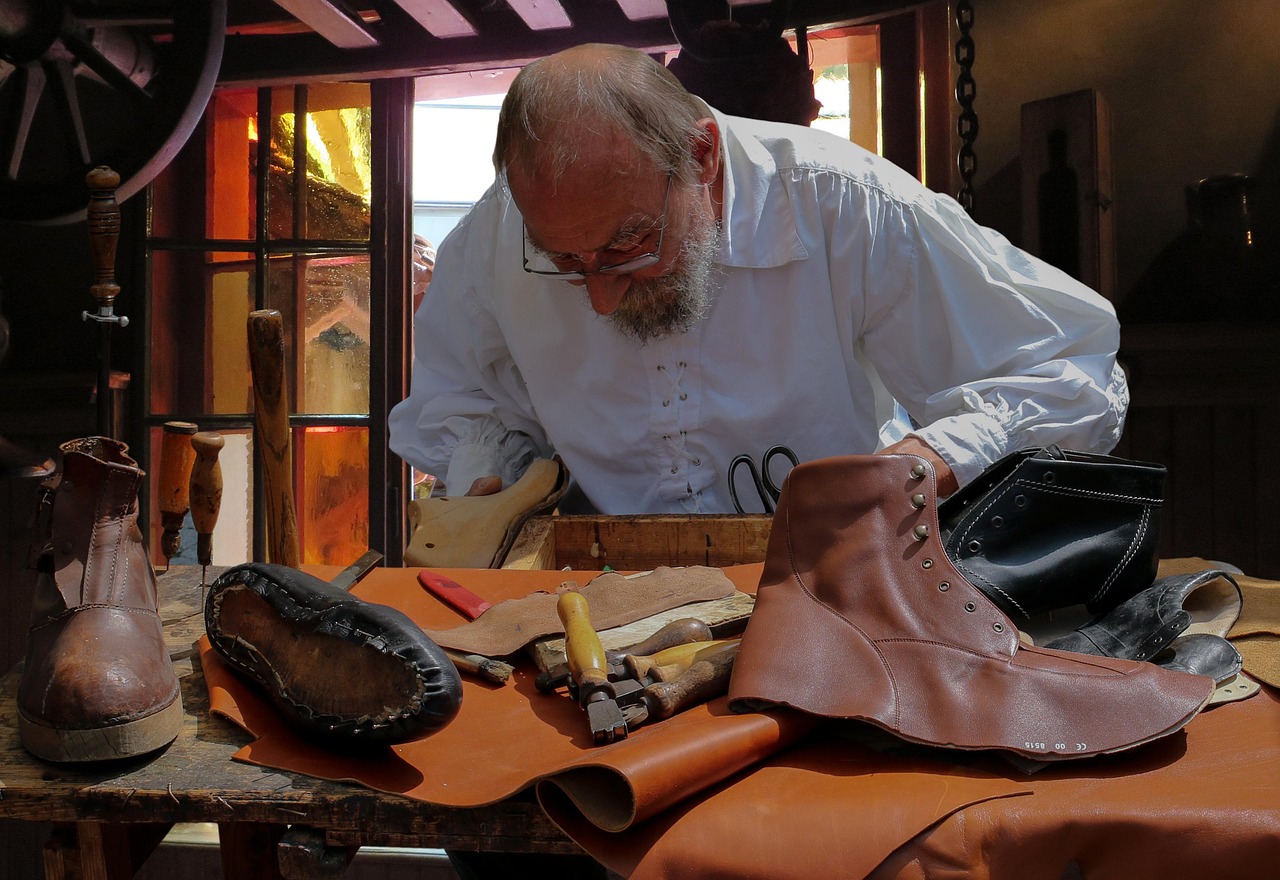
When you hand someone a journal, they run their thumb along the edge before they open it. That small gesture tells them a lot about the care that went into the book. A rough, unburnished edge feels unfinished. A smooth, polished edge feels intentional. Finishing edges is not difficult, but it requires patience and a few simple tools.
Burnishing Leather Edges
Burnishing is the process of rubbing the edge of the leather to compress the fibers and create a smooth, sealed surface. The traditional tool is a wood slicker, usually made of hardwood or bone. You can also use a piece of canvas or denim folded over the edge. The friction generates heat, which softens the leather and allows the fibers to mat down.
Before you burnish, you need to prepare the edge. If the leather is thick, pare it down with a sharp knife or a paring tool. A thick edge will not burnish evenly, and it will look bulky. Aim for a consistent thickness of about 1 to 1.5 millimeters at the edge.
Next, apply a small amount of water or a edge dressing. Water alone works for vegetable-tanned leather. For chrome-tanned leather, a commercial edge finish like gum tragacanth or a wax-based product will give better results. Apply it sparingly with a cloth or a sponge, then let it absorb for a moment before burnishing.
Rub the slicker along the edge with firm, steady strokes. Keep the angle consistent. You will see the edge darken and smooth out as the fibers compress. It may take several passes. If the edge dries out, add a little more water or finish. The goal is a hard, glassy edge that feels like a single piece of material rather than a stack of layers.
Dyeing and Coloring Edges
Sometimes you want the edge to contrast with the cover. Edge dyeing is a common technique in fine binding, and it adds a surprising amount of polish. You can use leather dye, acrylic paint, or even a colored wax. The key is to apply thin coats and let each one dry before adding the next.
Mask the cover with tape if you are worried about drips. Apply the dye with a small brush or a sponge, working along the edge in one direction. Let it dry completely, then burnish again. The dye will seal into the compressed fibers and create a deep, even color.
For paper edges, you can use a similar approach. Acrylic ink or watercolor applied to the text block edge gives a finished look. Clamp the text block tightly so the pages do not shift, then paint the edge with a brush. Let it dry before releasing the clamp. The result is a solid band of color that frames the pages.
Edge finishing is one of those details that takes a book from homemade to handmade. It does not require expensive tools or years of practice. It requires attention and a willingness to slow down at the end of a project. That final pass with a slicker or a brush is what turns a stack of paper and leather into a journal someone will keep for years.